

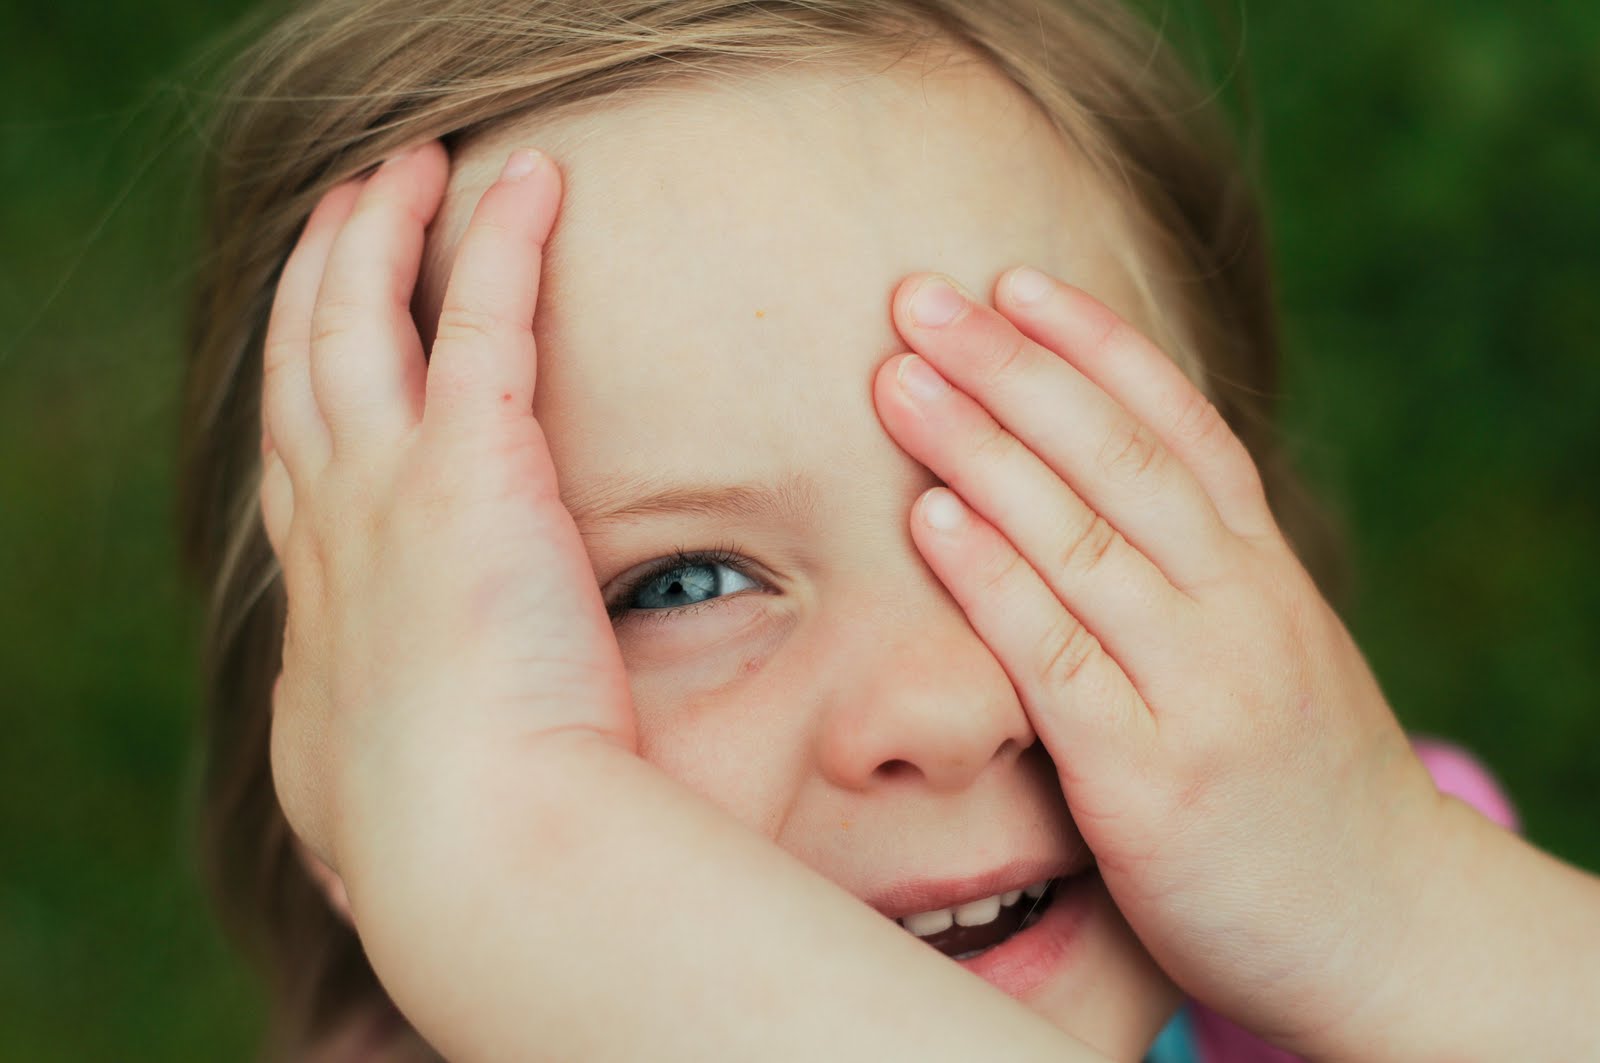
It was submitted by Cairith Turner of Bluhr Photography, located um, er, somewhere in Canada. When it came in, I immediately thought it would be a fun picture to edit, but thought I should wait until the contest was over before I took a swing at it. So, I of course asked for permission, and Cairith has generously allowed me to take significant liberties with her image and post it here.
What did I want to accomplish with my edit? Simply to make this image more dymanic, add depth, and overall, make it more compelling.
With that in mind, here is what I did:
1. Make her face and eye the focal point of the image
2. Add some color intensity to make it more vibrant and colorful.
3. Fix the funky skin color tones
4. Use contrast and light to show off the bokeh in the picture which makes her hair look like it is blowing in the wind, when it is likely that it is just depth of field. However, you can't really see that detail in the original image, and I wanted to bring that out!
Here is my version:

Here is what I did:
1. I imported the original into Adobe Lightroom 3.0, and simply made a virtual copy of the file.
2. I adjusted the exposure in order to bring more light onto the face.
3. I adjusted the tint of the image to remove some of the pinkness.
4. Adjusted the temperature to further move away from the heavy pink/red tones.
5. Gave the exposure one more tweek.
Each of these steps combined took less than 2 minutes. Here is what the image looked like at that point:
6. I exported the file into PS5.
7. I used the bandaid tool to remove the blemishes on her finger, forehead and under her eye.
8. I used MCP Actions "Eye Doctor" to brighten the Iris at about 40%.
9. I used MCP Actions "Magic Skin" at about 30% to create a smoother skin finish.
10. I used MCP Actions All in the Details "Magic Color Finder" to intensify the color of the grass behind her.
These steps took me about 8-10 minutes.
This is what it looked like when I was done in PS5.

11. I saved the changes (which sends the adjusted file back to Lightroom.
12. In Lightroom, I quickly created a vignette finish around the edges.
13. Lastly, I added a little warmth back into the file overall, which added the color wash to her hair, which I actually like.
These steps took about 30 seconds.
In total, I spent more time writing about the images on the blog than I did editing it. Total edit time: 12-13 minutes. I normally do not spend this much time editing a file (tip: if the white balance were more accurate for the ambient light when the photo was taken, steps 2-5, 10, and 13 may not have had to be done), and I typically prefer a lighter editing touch but the steps taken IMHO help the photograph realize more of it's potential!
I'd love to hear what you think about the original vs the edit. Discussions are a great way for all of us to learn!
Feel free to take a swag at editing the original file if you'd like and submit it to me via email at maris@marisehlersphotography.com and I will post it here with your step by step instructions. Not a contest, just fun learning together!
Also, if you find this post useful, helpful or informative in any way, please feel free to link to it on your blog or any social media site (i.e. facebook). Thanks!
A big thank you to Cairith and Lucy for being my guinea pig!
Cheers,
Maris
4 comments:
Very cool - thank you for sharing... I am going to go check out MCP Actions right NOW!
FYI, I am in BC, Canada! :) Well, I have read and re-read the steps, looked over and over at the pics, I loved this picture, I had done some edits in LR and played with it, but You truly have done an outstanding job. Thank you!
I'll send you the original (JPEG format) back to you. Feel free to print it if you'd like. :) If you'd share this post on your page, I would appreciate it!
I should also note that my monitor is calibrated to Pictage, so the color, etc., may look different on your monitor and may look different depending on type, age, quality and whether it is calibrated similarly or not.
Post a Comment